Hello to everyone,
I last did this project in 2008, but after all we've learned, it would be great to do it again.
I will share the progress here. This way I know I can get good reviews. Or maybe we can shed some light on someone.
Let's start. cheers :)
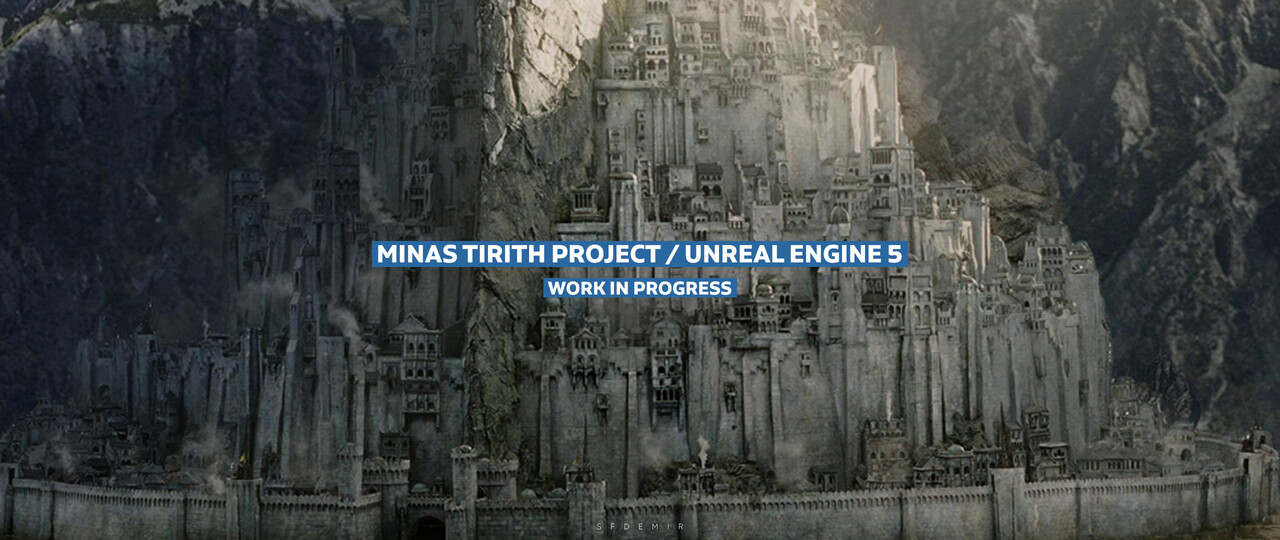
As mentioned in the title of this project, my main goal is to be able to revive this project in the unreal engine 5 game engine. At the same time, I can say that Unreal engine 5 coincided with this project for early access. That's nice because it's a novelty I'd love to try.
Minas Tirith Project
Episode 01 - Referance Sheet
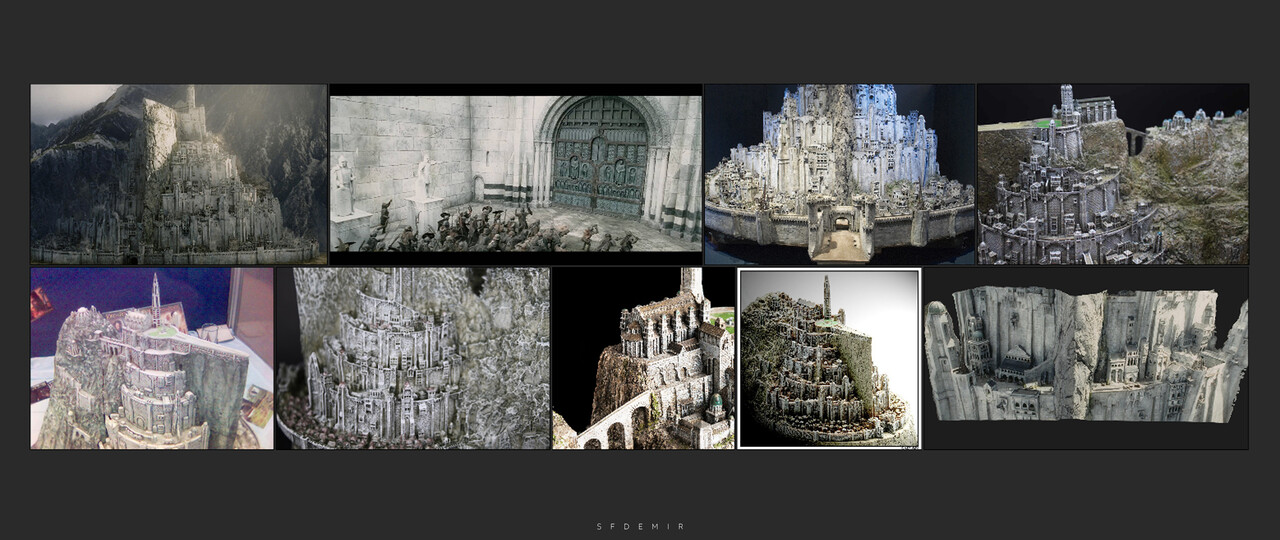
For references, of course, a lot of content has been created over the years. As a matter of fact, there are incredible fantastic drawings and these works are very successful. But I would like to take as an example the concepts shown in the movie a little more.
Therefore, I wanted to take the models used in the movie as an example. There are so many details, it's a city after all. That's why we have to maintain optimization and think about it constantly.
Actually, we're going to need a list. In this list, we must determine how many building types should be, how many tower types should be, or how many props. However, preliminary studies will be required to determine this list. We do not currently have this vision.
First of all, it is necessary to understand the correct proportion and the structure of the castle in the movie. For this we need to collect all the resources available on the Internet.
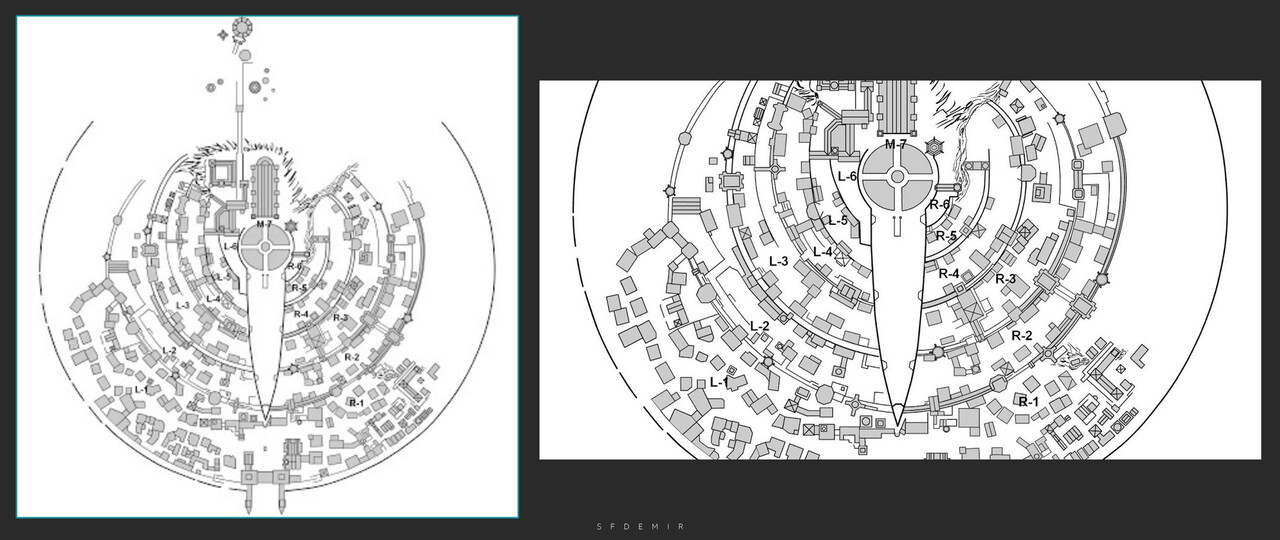
First of all, I managed to find a plan that was very close to reality among the plans.
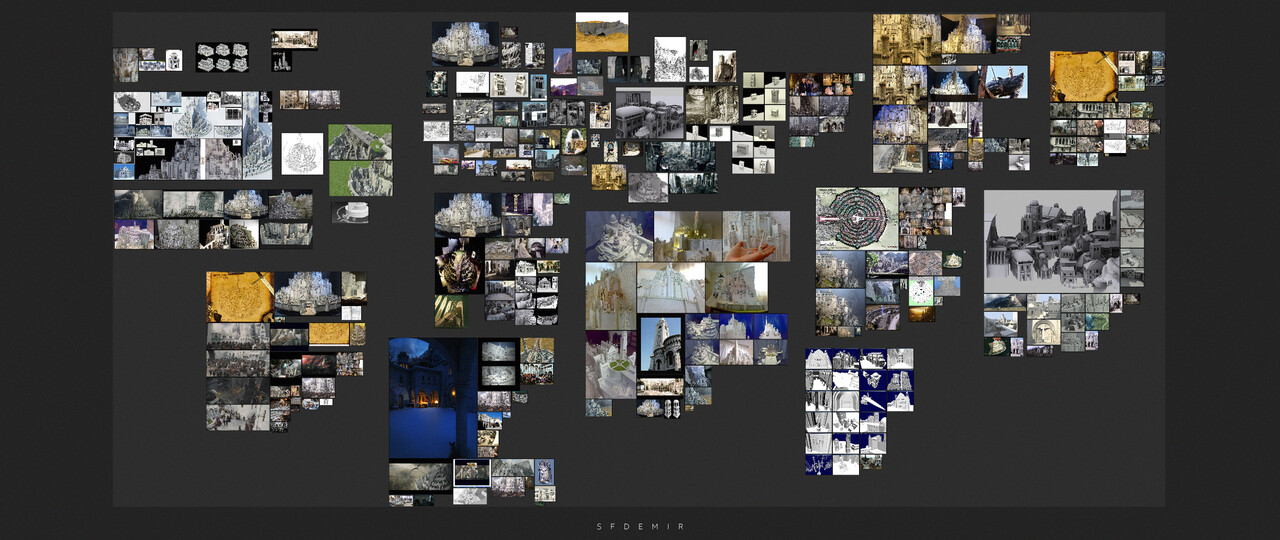
I reviewed all the models and created a reference file from them. I also bought all the existing minas tirith models. I also put it together in all the plans.
I went through all the 3d designs I bought and looked at how people modeled them. I see they all have other faults. In some, the stones are far from reality, in others they are structures. Some models do not match the actual placement.
Of course, it's normal to be like this, everyone adds their own point of view. We will definitely add our own point of view. Maybe years later, others will say this for us.
I also came across many print models and mock-ups on the internet. The work that people do is truly incredible. Of course, I do not have the skills to make real models :)
I created a reference file from these studies.
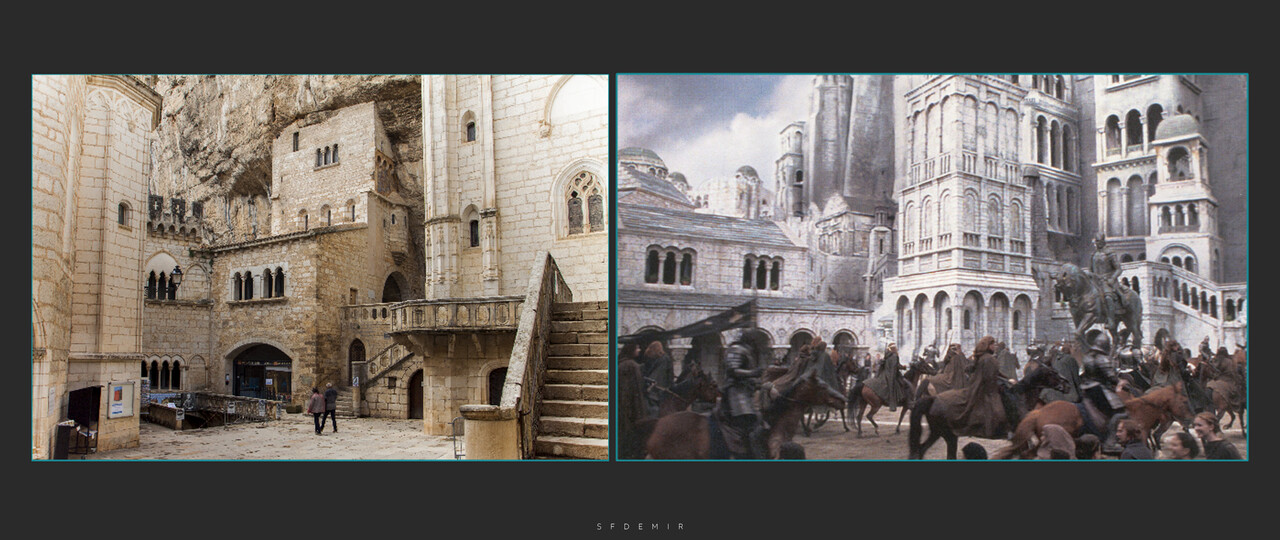
Incredibly important are the references to actual cities where the minas tirith scenes of the movie were shot. In this way, the architectural structure can be understood more accurately.
Episode 02 - Greyboxing
Of course, in order to do all these operations, we will first need to be able to skip the greyboxing phase.
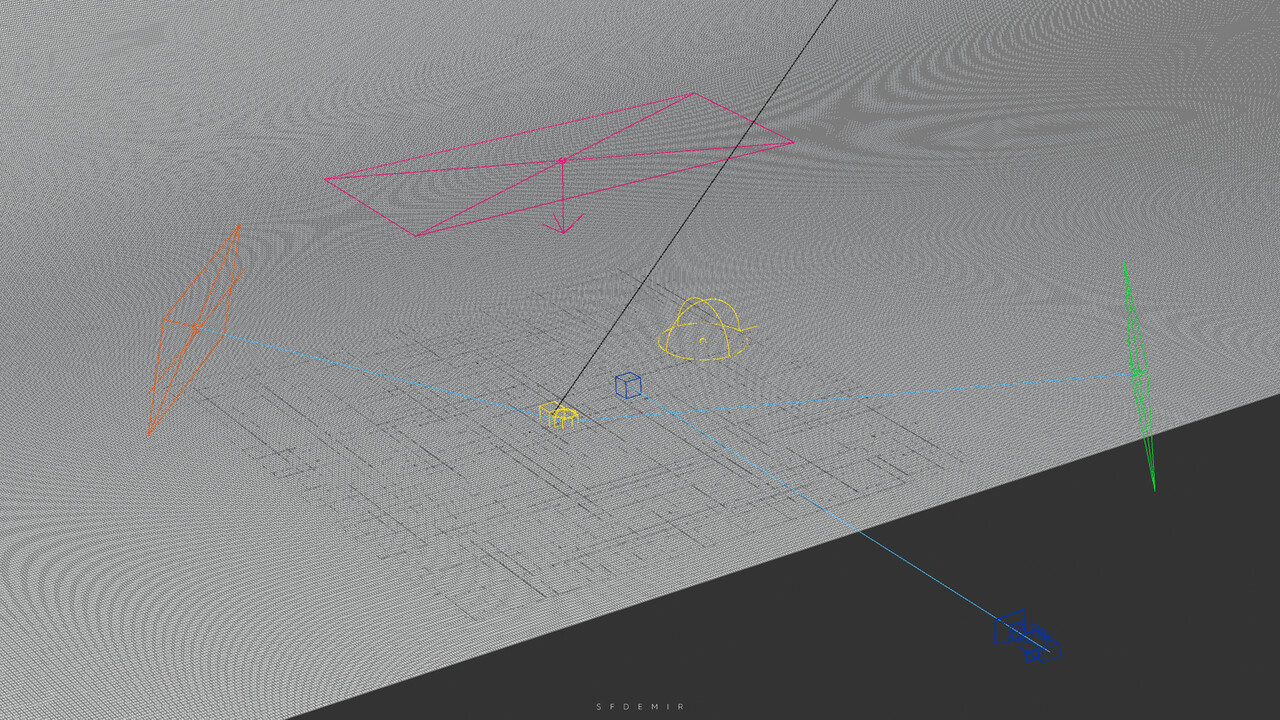
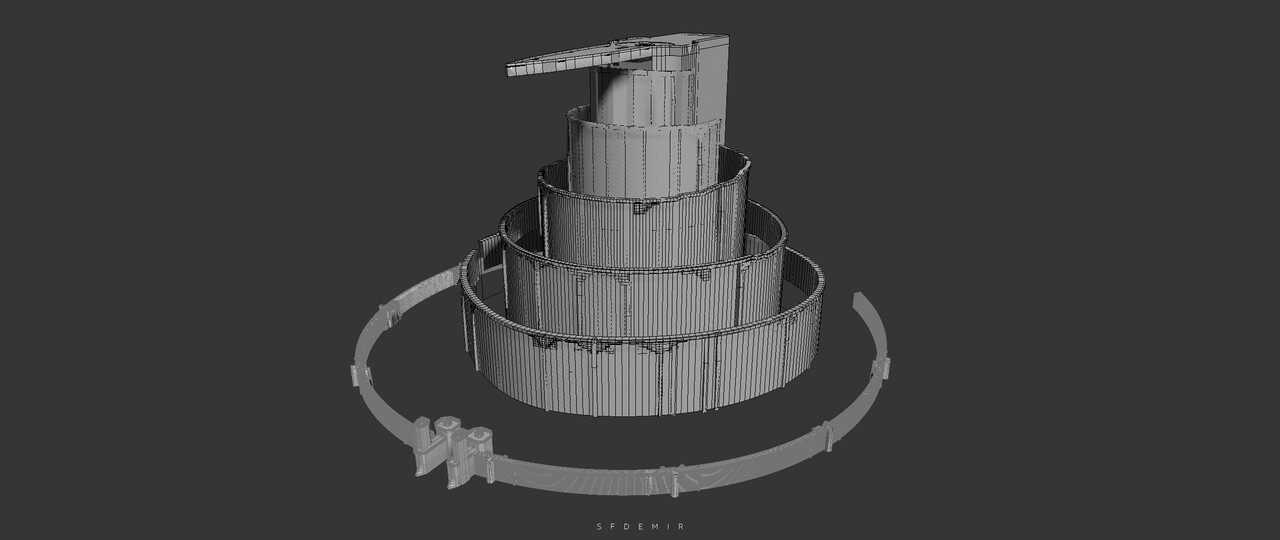
After all these examinations, I created a scene consisting of boxes.
We have to model everything from scratch. It's an obsession for me that it's a work I created entirely myself :)
This is because when I first started modeling, I tried to do minas tirith. At that time, my knowledge and abilities were not sufficient for such a study. Let's see if we're ready now :)
All internet content can be used for our reference only. Not much.
The most important element at this stage will be the walls. According to the shapes of the walls, we can make the mountain on which the city is located.
We should start with the first wall and proportion it to be 7 floors.
Minas tirith is not a linear structure. Therefore, the wall lengths at each level are different.
In addition, although all the walls seem to be half round, they are not actually. We can see this more clearly from the references of the plans.
Before starting this project, I tried to reach people who had made this model before on the internet. The most important thing for me is vision. I tried to understand what kind of problems these people faced.
There were people who shared their work on this issue with me. Thank you very much to them. In this way, I had the chance to calculate possible probabilities by doing model analysis.
I would also like to talk a little about them.
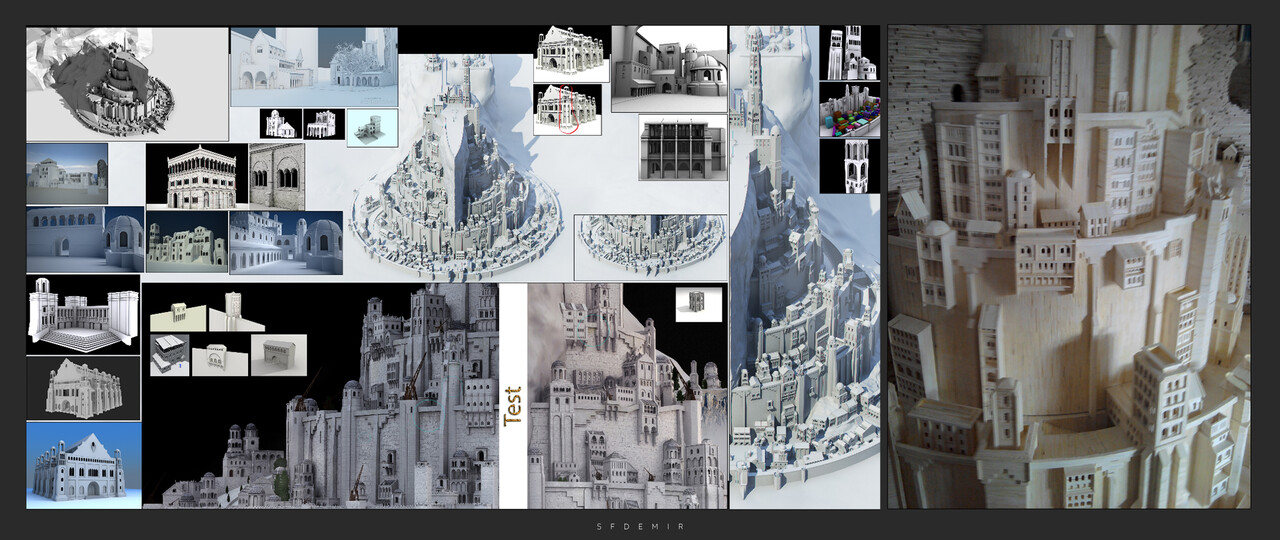
First of all, Victor Prestaia shared the minas tirith model he made years ago, allowing me to examine modeling in his style. Victor's city of minas tirith is truly amazingly successful. But he was just modeling. They had no covers. In addition, Victor evaluated this model only from an architectural point of view as topology and optimization. For this reason, too many boleon-style modifiers were used. But his models gave us ideas. It's like having a 3D reference file. In addition, its architectural design was great and thanks to the ratio and proportion vision, we will be able to make much closer models.
Also Avriel Lai has an amazing minas tirith work. But Avriel also designed this work a long time ago. It doesn't quite fit the castle design and city layout used in the movie. But he is a concept artist, his work should be judged from his point of view. This work, which he shared on artstation, really guides us.
Buneles, Alexi, Demian, Hell design groups sent us their 3d printable models to support us in this study. It was an incredibly beautiful move. Thank you very much to them too. But you know, the models prepared for 3D printers don't quite fit our roadmap. But aside from the amazing layout ideas, they were lovely gifts for maybe one day printing on our table. Thank you again.
I would like to thank the other artists in Deviantart and Artstation who shared their works with us.
I would like to thank the artists who communicated on artstation for their concept ideas.
There were many people who shared their ideas with much greater interest and professionalism than I had anticipated. I will try to share it with everyone in this article.
Ok, back to the topic :)
First of all, I would like to combine the medieval studies we have prepared in the past months with this work. This could be great.
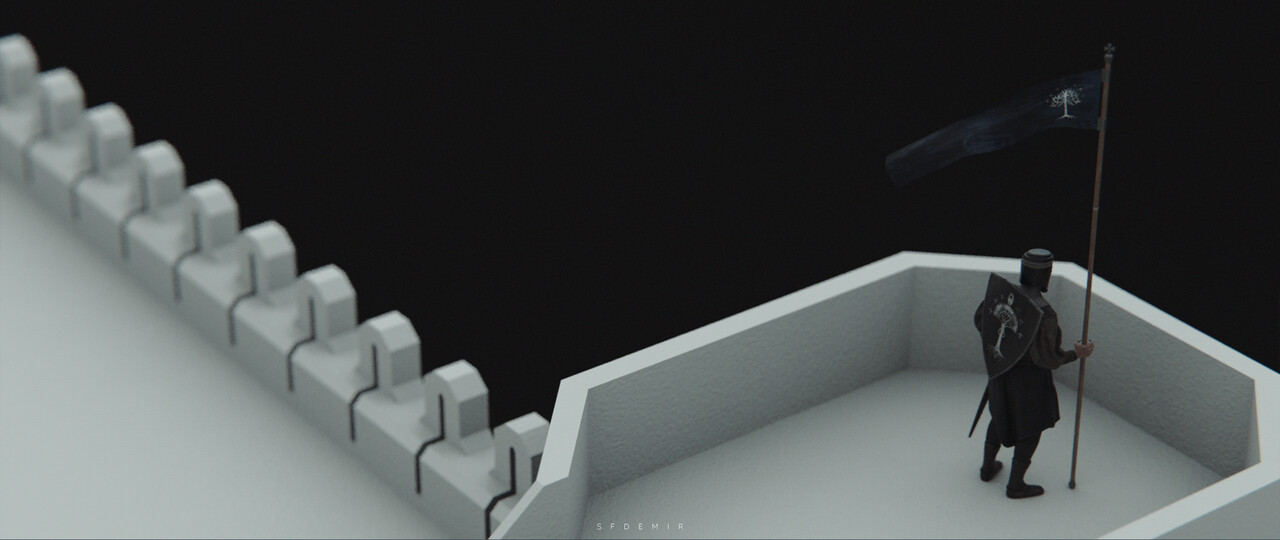
First I needed a character for dimension referencing. I also reupholstered one of my Medieval knights as a knight of Gondor. Coats of arms of Gondor, flags of Gondor, Shields of Gondor etc.
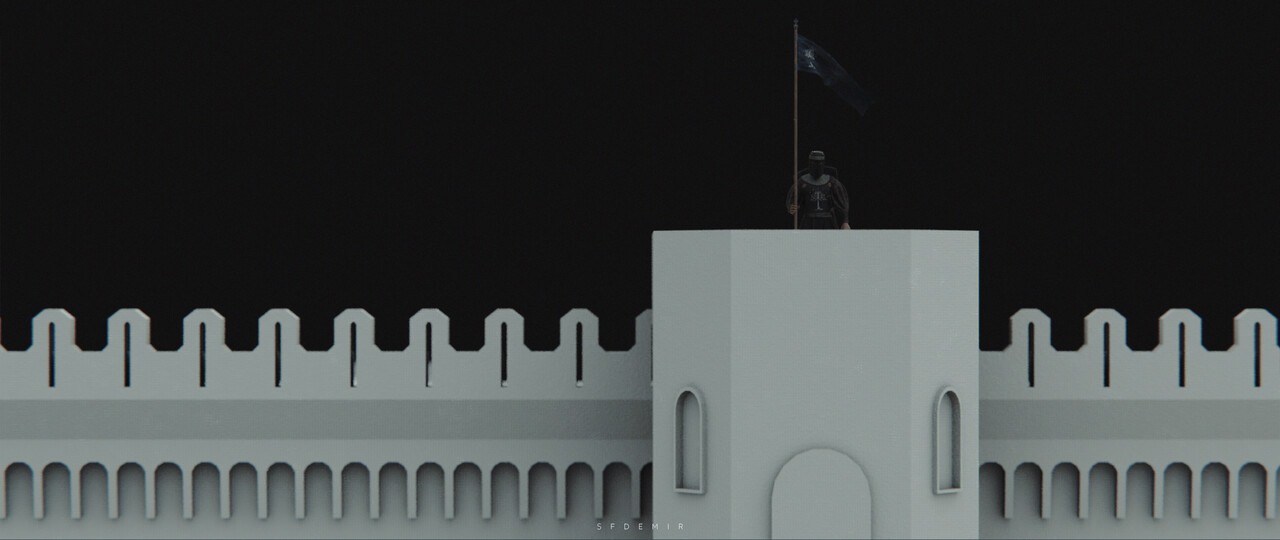
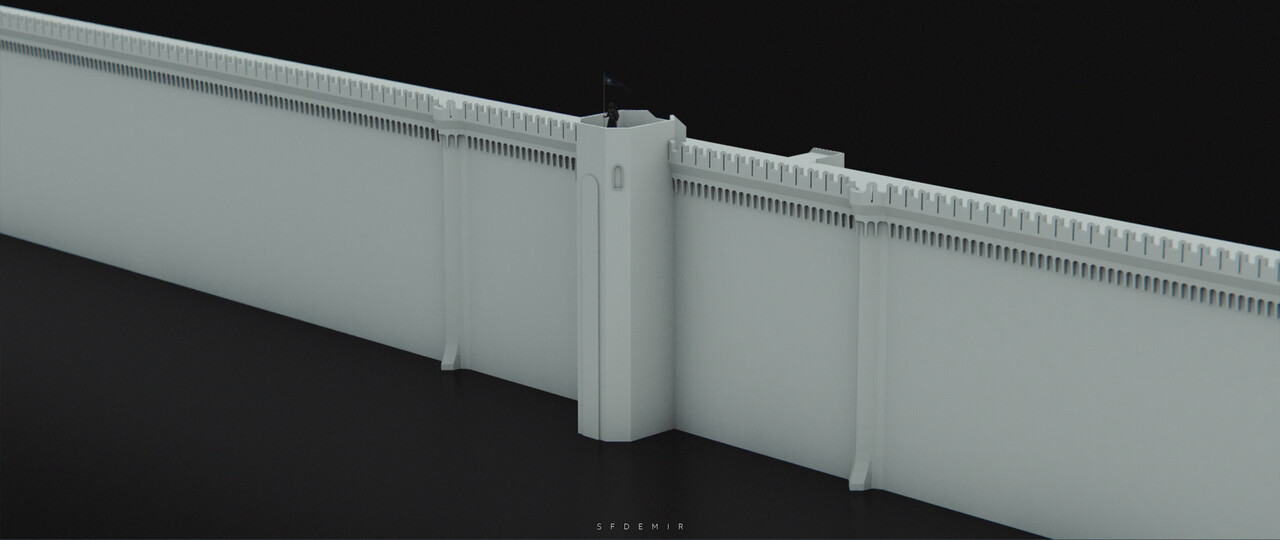
I modeled the walls of the first floor and had this knight walk over it a bit.
I'm aware, I started modeling at the gray boxing stage. But I wanted to implement these ideas immediately and squeeze them together. I guess I couldn't help myself.
Right at this stage, I received a feedback from a designer that I respect very much.
The wall looks incredibly flawless. He said this is a problem. Yes, I think we can fix these defects with coatings or using decal maps. Finally we can really break this or break it down.
Episode 03 - Modelling
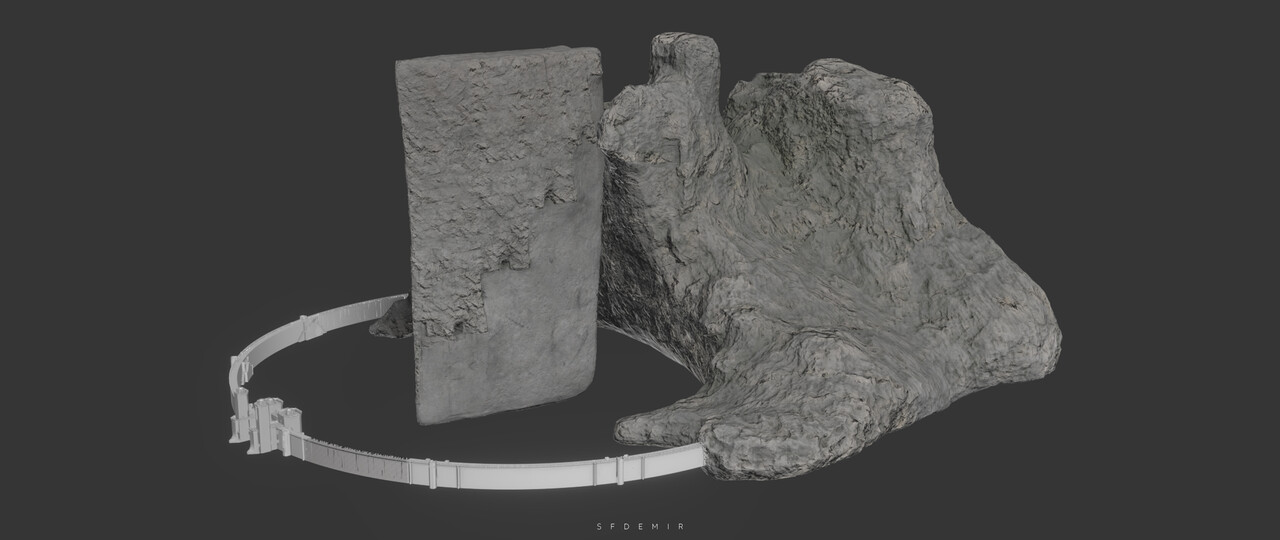
I think the most important model in the city of minas tirith is the mountain on which it is located, there is also a big rock that divides the city into two. The city is located on these two. First we have to model them. I chose to make the mountain model as a start.
I think the most important element here is the brush types required for the mountain and rock to be built. I chose to create some of these myself. I bought some rock brushes from the artstation store.
There are incredible brushes, they are really successful. I'm thinking of making and publishing such a set of brushes myself in the future. Maybe I can do this after this workout.
At this stage, we are now fully modeling. Of course, we have two progression options. Either we model everything and then we do the skins. Or we will cover it as we model it.
I think seeing your skins while working on it will motivate me more. So the more I model it, the better it will be for me to make the skins.
The only thing to consider when modeling the mountain is that the mountain is very large. That's why I'm considering a set of 10 Textures. I think I can divide the parts that the character will see more into extra texture sets. I'm not sure about that right now. I guess I'll consider it last.
I don't want any progress in the LOD system. Yes, there are such ideas. But I want to go fast.
For general modeling, UV can be considered or Trim sheet can be used. I haven't decided on this yet. I'm still trying to plan.
Sorry for my English, dear readers. It is not yet sufficient to write such articles.
The rock that divides the city in two is extremely important, friends. Maybe this is the most important thing in the city.
I'm really going to model this rock. Then do a re-topology. I'll bake.
For rock, there will be 5 texture sets on the right and 5 texture sets on the left. I will design them in 4k.
Likewise, I will plan as 10 texture sets on the mountain where the city is located.
I know there are many methods and alternative progressions here. Actually, I can't say this is true. But I think to collect the landforms of this work in the latest enreal. So I'm not going to hang around here too much.
At the same time, I do not want to disrupt the time plan I am thinking of for this project. There will be a time of 10 days for crisis processes.
I will make the skins using Substance Painter and Designer.
I guess there will be hundreds of layers again. I am losing myself :)
Among these layers, of course, the use of height maps will be excessive. I aim to be able to organize these with the use of Anchor Point.
After that, a few masks and generators will work.
I want the result to be in scan style.
A problem arises here. Making the coatings separately from the city raises the question of how the color harmony will be achieved later.
I think we can do a color correction work on the base color files of the latest coatings. Believe me, this was the most creative idea you came up with.


If it doesn't work I guess big problems will arise :)
I saved these texture files. If we finally think of another method, we can go back and rework the texture.
Now we need to re-topology and bake the rock model that divides the City into two.
I have completed the mountain models. Good or bad :) Maybe in the future we can come back to these skins and make some adjustments. I am not sure.
I integrated mountain models and the first wall into the scene. Now we have to UV coat the coatings of the walls of the first floor, whose modeling is finished.
Actually, at this stage, I thought a lot about the Trim Sheet alternative. But I guess this method will require a lot of math. So I decided to cover it directly.
We will continue with this method for now. Maybe then we can spend the rest of our time with that.
Hello again :)
I took a break for 1 day, in the last messages I had questions about the technique of rock modeling. It's great to have these questions coming up. As I said, I forget some things from time to time :) I followed a different path in the technical course of the rock. Actually, it was impromptu.
By the way, I'm getting a lot of private messages. These motivated me a lot. Thank you for all.
I would like to add a flag here. Victor sent me all the references he had to support the project. That's incredible. We thank him again.
Due to the expanding reference file, I had to make an update to the first step, the reference point. The final version of our current reference file looks like this. Of course I haven't edited it yet :)
Hello again my dear followers, I had to take a break for a while. To begin with, I wanted to move the walls into the unreal engine.
I will continue to share and update, stay tuned guys.
Sabri Firat Demir
